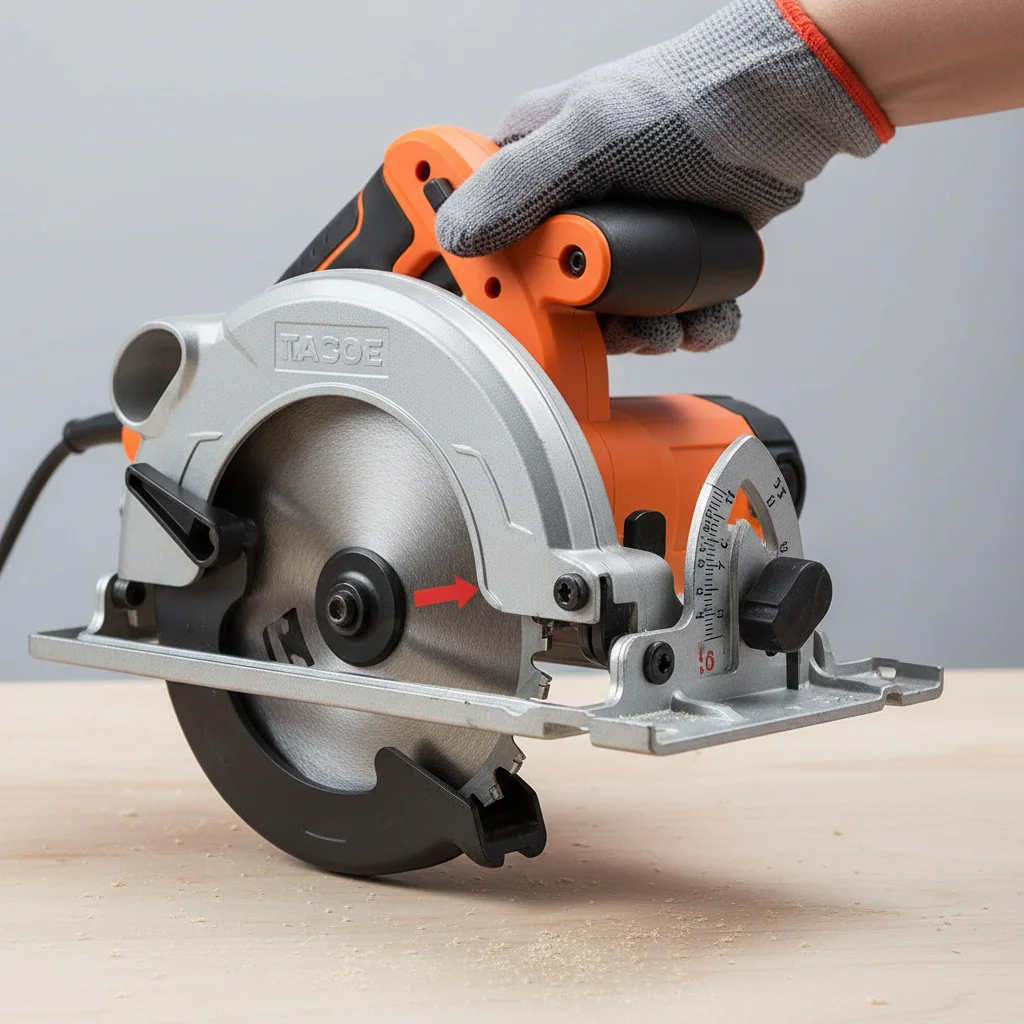
Achieving precise cuts with a circular saw hinges on proper depth adjustment. Incorrect settings can lead to splintering, blade binding, or even damage to your workpiece. By following five essential steps, you can master this crucial technique and ensure every cut is accurate and safe.
Understanding Depth Adjustment Mechanics
Most circular saws feature a depth adjustment lever or knob, typically located near the front or side of the saw’s base plate. This mechanism allows you to raise or lower the blade relative to the shoe, controlling how deep the blade penetrates the material. It’s vital to adjust the depth so that the blade extends just enough to clear the bottom of your workpiece, usually by about 1/8 to 1/4 inch. This minimizes blade exposure, reduces kickback risk, and ensures a cleaner cut.
Step 1: Unplug and Secure Your Saw
Before making any adjustments, always ensure your circular saw is unplugged from its power source. This is a non-negotiable safety precaution to prevent accidental startup. Once unplugged, place the saw on a stable, flat surface with the blade guard retracted, allowing clear access to the blade and adjustment mechanisms.
Step 2: Measure Your Material Thickness
Accurate depth adjustment begins with knowing the exact thickness of the material you intend to cut. Use a tape measure or calipers to get a precise measurement. For example, if you’re cutting a standard 3/4-inch plywood sheet, this measurement will guide your blade extension.
Step 3: Set the Blade Depth
|
Our Picks for the Best Circular Saw in 2026
As an Amazon Associate I earn from qualifying purchases.
|
||
| Num | Product | Action |
|---|---|---|
| 1 | Cordless Circular Saw 6-1/2" for Makita 18V Battery (Not Inclued), 4500RPM Power Circular Saws w/Laser Guide, 0-45° Bevel Capability, Max 2-3/16" Depth, Electric Saw for Wood Plastic |

|
| 2 | Ryobi 14 Amp 7-1/4" Adjustable Electric Circular Saw w/Exactline Laser | CSB135L |
|
| 3 | Ridgid ZRR32104 THRUCOOL 7-1/4 in. Worm Drive Saw (Renewed) |
|
| 4 | Mini Circular Saw, 4Amp 3500RPM Corded Compact Saw with 4-1/2" 24T TCT Blades, Laser Guide, Rip Guide, Vacuum Adapter and Blade Wrench, Max Cutting Depth 1-11/16"(90°), 1-1/8"(45°) |
|
| 5 | Seesii Mini Circular Saw with Laser Guide,4.8A 4000 RPM Compact Corded Circular Saw with Rip Guide,3 Blades (4-1/2") for Wood,Soft Metal,Tile,Plastic Cutting,Max Cut Depth 1-11/16"(90°),1-1/8" (45°) |
|
| 6 | Makita 5377MG 7-1/4" Magnesium Hypoid Saw |
|
| 7 | RYOBI Circular Saw CSB125 13-Amp 7-1/4 in. Electric (Renewed) |
|
| 8 | RIDGID 18V Cordless 6 1/2 in. Circular Saw (Tool Only) |
|
| 9 | RIDGID 18V SUBCOMPACT BRUSHLESS Cordless 6-1/2 in. Circular Saw Tool ONLY R8656B |
|
| 10 | Makita 5477NB 7-1/4" Hypoid Saw |
|
Place the saw’s base plate flat on the material you’re cutting. Loosen the depth adjustment lever or knob. While holding the saw firmly, lower the blade until it just touches the material. Then, continue to lower it an additional 1/8 to 1/4 inch beyond the material’s bottom surface. This slight over-extension ensures a complete cut without excessive blade exposure. Once the desired depth is set, securely tighten the adjustment lever or knob.
Step 4: Verify the Adjustment
After tightening, visually inspect the blade’s extension. You should see only a minimal portion of the blade teeth extending below the material when the saw is resting on it. A good rule of thumb is that no more than one full tooth should be visible. This verification step is crucial for both safety and cut quality.
Step 5: Test Cut and Refine
Before committing to your main project, make a test cut on a scrap piece of the same material. This allows you to assess the cut quality and make any minor refinements to the depth setting. Look for clean edges and ensure the blade isn’t binding or struggling. If the cut is rough or incomplete, re-evaluate your depth setting and adjust as needed.
- Always unplug the saw before any adjustments.
- Measure material thickness accurately.
- Extend blade 1/8 to 1/4 inch beyond the material.
- Securely tighten the depth adjustment lever.
- Perform a test cut on scrap material.
Mastering circular saw depth adjustment is a fundamental skill that enhances both safety and the quality of your work. By consistently applying these five steps, you’ll achieve cleaner, more efficient cuts on every project. For those looking to upgrade their tools, consider models with easy-to-read depth scales for even quicker adjustments.Investing in a saw with a robust depth adjustment mechanism can significantly improve your woodworking experience.
