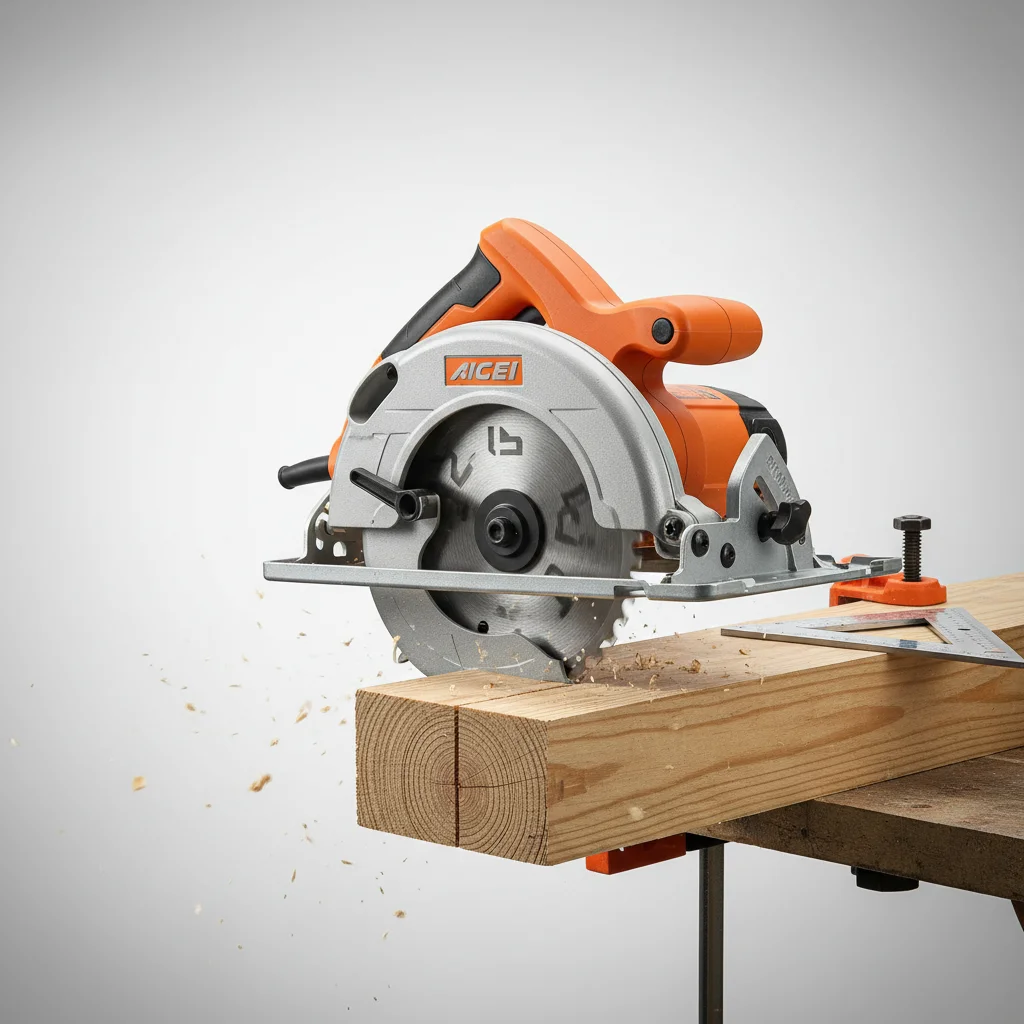
Mastering circular saw bevel cuts is essential for achieving precise angles in woodworking and construction. This guide will walk you through the process, from understanding your saw’s capabilities to executing perfect angled cuts, ensuring your projects have a professional finish. We’ll cover the five key steps to setting up and making accurate bevel cuts, helping you avoid common mistakes and achieve consistent results.
Understanding Your Circular Saw’s Bevel Capacity
Most circular saws offer a bevel capacity ranging from 0 to 45 degrees, with some models extending to 50 or even 56 degrees. Before you begin, consult your saw’s manual to understand its specific limitations. Locate the bevel adjustment lever or knob, typically found at the front or side of the saw’s base plate. This mechanism allows you to tilt the blade relative to the base, creating the desired angle for your cut. Familiarize yourself with the angle scale, which usually has clear markings for common angles like 22.5 and 45 degrees. Knowing your saw’s maximum bevel is crucial to prevent damage and ensure safety.
Setting the Correct Bevel Angle
To set the bevel angle, loosen the adjustment lever or knob. Carefully tilt the saw’s base plate until the indicator aligns with your desired angle on the scale. For critical projects, it’s advisable to use a digital angle gauge or a protractor to verify the setting, as the saw’s built-in scale can sometimes have minor inaccuracies. Once the angle is set, securely tighten the adjustment lever to prevent any movement during the cut. A loose bevel setting can lead to inaccurate cuts and potential kickback, compromising both your project and your safety. Always double-check the tightness before powering on the saw.
Preparing Your Material and Workpiece
|
Our Picks for the Best Circular Saw in 2026
As an Amazon Associate I earn from qualifying purchases.
|
||
| Num | Product | Action |
|---|---|---|
| 1 | Ridgid ZRR32104 THRUCOOL 7-1/4 in. Worm Drive Saw (Renewed) |

|
| 2 | Makita 5377MG 7-1/4" Magnesium Hypoid Saw |
|
| 3 | RIDGID 18V SUBCOMPACT BRUSHLESS Cordless 6-1/2 in. Circular Saw Tool ONLY R8656B |
|
| 4 | RYOBI Circular Saw CSB125 13-Amp 7-1/4 in. Electric (Renewed) |
|
| 5 | Ryobi 14 Amp 7-1/4" Adjustable Electric Circular Saw w/Exactline Laser | CSB135L |
|
| 6 | Cordless Circular Saw 6-1/2" for Makita 18V Battery (Not Inclued), 4500RPM Power Circular Saws w/Laser Guide, 0-45° Bevel Capability, Max 2-3/16" Depth, Electric Saw for Wood Plastic |
|
| 7 | Mini Circular Saw, 4Amp 3500RPM Corded Compact Saw with 4-1/2" 24T TCT Blades, Laser Guide, Rip Guide, Vacuum Adapter and Blade Wrench, Max Cutting Depth 1-11/16"(90°), 1-1/8"(45°) |
|
| 8 | Seesii Mini Circular Saw with Laser Guide,4.8A 4000 RPM Compact Corded Circular Saw with Rip Guide,3 Blades (4-1/2") for Wood,Soft Metal,Tile,Plastic Cutting,Max Cut Depth 1-11/16"(90°),1-1/8" (45°) |
|
| 9 | RIDGID 18V Cordless 6 1/2 in. Circular Saw (Tool Only) |
|
| 10 | Makita 5477NB 7-1/4" Hypoid Saw |
|
Proper preparation is key to successful bevel cuts. Ensure your workpiece is securely clamped to a stable workbench. Any movement during the cut can result in an uneven angle or a dangerous kickback. Mark your cut line clearly on the material, taking into account the blade’s kerf (the width of the cut). For bevel cuts, the blade will enter the material at an angle, so it’s important to adjust your line of sight accordingly. Consider using a straight edge or a guide rail to assist in maintaining a consistent line, especially for longer cuts. Always wear appropriate safety gear, including safety glasses and hearing protection.
Executing the Bevel Cut Safely and Accurately
With your saw set and material prepared, it’s time to make the cut. Position the saw so the blade is just above the starting point of your marked line. Engage the saw’s power and allow the blade to reach full speed before entering the material. Maintain a steady, consistent feed rate, letting the saw do the work. Avoid forcing the saw, as this can lead to blade binding, burning, or kickback. Keep both hands on the saw’s handles, maintaining firm control throughout the cut. As you approach the end of the cut, support the offcut piece to prevent it from breaking away prematurely, which can splinter the wood or cause the blade to bind.
Common Bevel Cut Challenges and Solutions
- Inaccurate Angles: Always verify your saw’s angle setting with an external gauge. Calibrate your saw’s bevel scale if necessary.
- Blade Binding: Ensure your material is properly supported and not pinching the blade. Use a sharp, clean blade appropriate for the material.
- Tear-out: Score the cut line with a utility knife before cutting, or use a zero-clearance insert on your saw’s base plate.
- Burning Wood: This often indicates a dull blade or too slow a feed rate. Increase your feed rate or replace the blade.
- Kickback: Maintain a firm grip, ensure the workpiece is clamped, and avoid cutting freehand. Never cut into material that is not fully supported.
By following these guidelines, you can confidently make precise circular saw bevel cuts for a wide range of projects. Practice on scrap material to build your confidence and refine your technique. Remember that safety is paramount, so always prioritize proper setup and personal protective equipment. With a little practice, you’ll be creating perfectly angled joints and edges in no time.
